How to create a smart feedback form with Tinq.ai, PHP and Airtable
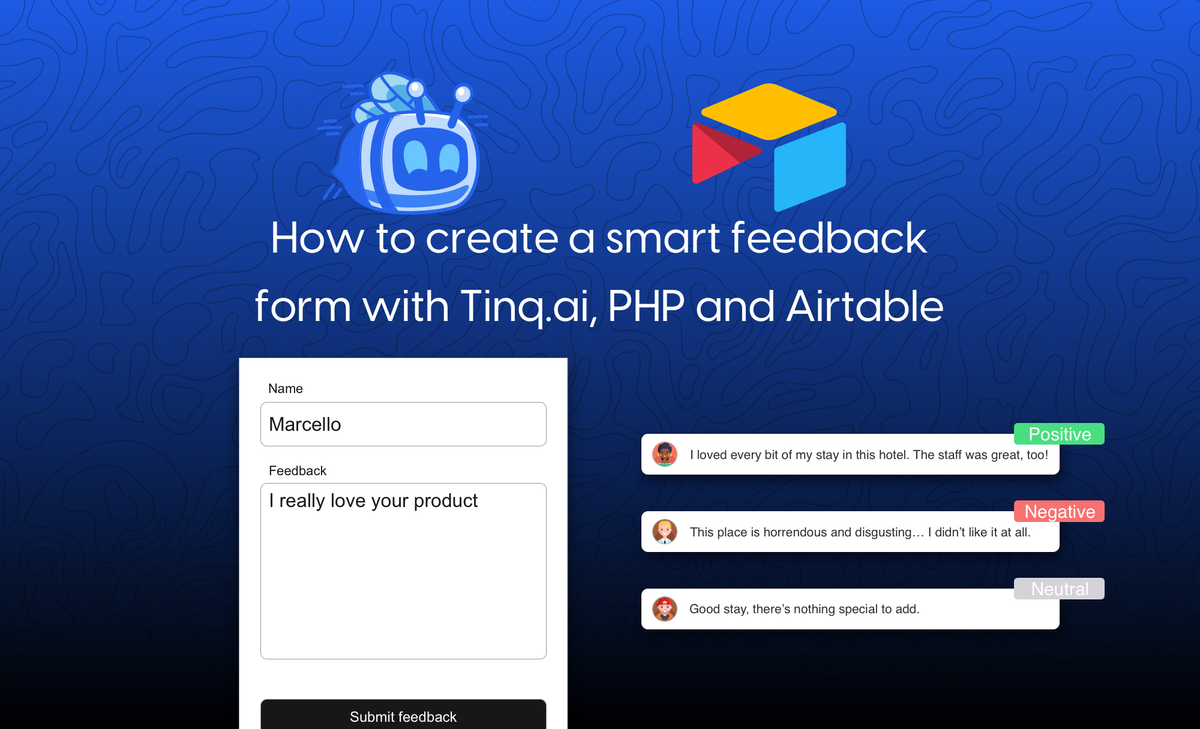
In this tutorial, we will learn how to build a simple, yet powerful feedback form using Tinq.ai and Airtable. We will use Tinq-ai's sentiment analysis tool to analyze the user's feedback, and classify them as "neutral", "positive" or "negative".

Receiving feedback from your users and customers is the best way to gain a better relationship with your users and ultimately build great products.
In this tutorial, we will learn how to build a simple, yet powerful feedback form using Tinq.ai and Airtable.
Here, we will use Tinq.ai's sentiment analysis tool to analyze the user's feedback, and classify them as "neutral", "positive" or "negative".
This tutorial assumes that you know the basics of JavaScript, HTML, and PHP.
If you are not the coding type, we've made another tutorial teaching you how to create a feedback form with sentiment analysis using Typeform, Tinq.ai, and Airtable.
Let's get started, shall we!
0. Prerequisite: Set up your Airtable table & get your API credentials
We'll assume that you know how to use Airtable.
First, we need to create the table on which we want to store our feedback data.
We want the following data: Name, E-mail, Feedback, Sentiment.
You should have a table that looks like this:

Once this is done, we need to get API credentials for Airtable. Simply head over to https://airtable.com/api.
You'll be given to choose the workplace you'd like to work on. For this tutorial, I'll work on "Demo boards".

Then you will be taken to a page with the documentation for this specific board.
Next, we need to get our API keys. Which we can get here: https://airtable.com/account
We are all set. Let's create our smart feedback form!
1. Install Tinq.ai's PHP package
First, install Tinq.ai's package using composer by running the following command in your project's terminal:
composer require tinq-ai/tinq-php
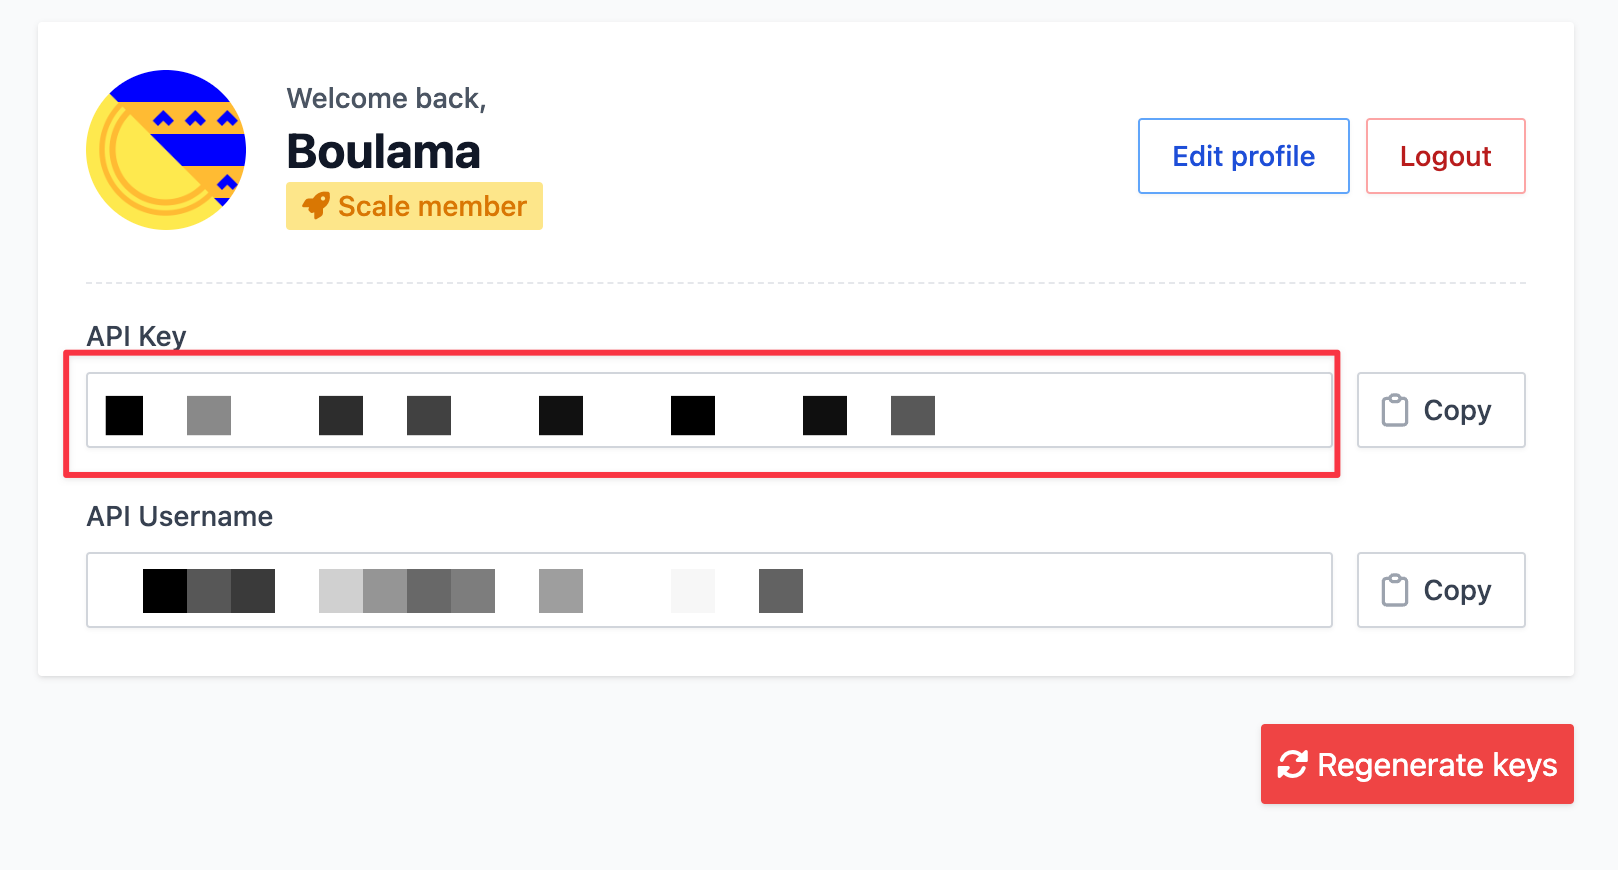
You need your Tinq.ai API credentials that you can find here: https://tinq.ai/dashboard/profile

We will use Guzzle HTTP to call Airtable's API, so you can install it as well. If you do not wish to use Guzzle HTTP, you can use cURL, which is natively installed in PHP.
To install Guzzle, run the following command:
composer require guzzlehttp/guzzle:^7.0
2. Create an HTML form.
Let's create an HTML file index.html where we will have our form.
We will use the following identifiers to reference their values in our JavaScript later on. jQuery will be used to abstract many javascript methods. And Ajax will be used to submit our form.
- Form identifier:
feedback-form. - Name identifier:
name - E-mail identifier:
email - Feedback identifier:
feedback - Thank you message identifier:
thankyoumessage
Here is the code below:
<form class="lw-" id="feedback-form" action="/process.php">
                        <div class="lw-field">
                            <div class="lw-group"><input class="lw-input" type="text" id="name" placeholder="Enter your first name" required></div>
                        </div>
                        <div class="lw-field">
                            <div class="lw-group"><input class="lw-input" type="email" id="email" placeholder="Enter your email" required></div>
                        </div>
                        <div class="lw-field">
                            <div class="lw-group"><textarea class="lw-textarea" id="feedback" placeholder="Enter the message" required></textarea></div>
                        </div><button class="lw-btn" type="submit" data-lw-ripple>Send message <img src="/1487.gif" class="loader" style="display:none" width="20px" alt=""></button>

                        <span class="lw-btn lw-btn_wide" id="thankyoumessage" style="margin-top:10px!important;font-size:10px!important;display:none">Thank you for your <span id="feedback_sentiment"></span> feedback.</span>


                    </form>
In order to submit this form, we will use AJAX.
We need to handle the form submission and prevent the default HTML submission.
$('#feedback-form').on('submit', function(e) {
            e.preventDefault(); // this will prevent the form from being submitted when a user clicks on the "submit" button.
})
We need a way to get the values of our form fields and create a new formData object that we will use to submit our AJAX request.
var fd = new FormData();
var name = $('#name').val();
var email = $('#email').val();
var feedback = $('#feedback').val();

let action_url = $(this).attr('action');

fd.append('name', name);
fd.append('email', email);
fd.append('feedback', feedback);
And now, our Ajax method:
$.ajax({
    type: 'POST',
    url: action_url,
    data: fd,
    cache:false,
    contentType: false,
    processData: false,
    success: function (result) {
        // if the feedback is submitted properly
            $('.loader').hide();
        console.log(result);
        if(result.success) {
            $('#thankyoumessage').fadeIn(); // display a thank you message
            $('#feedback_sentiment').text(result.sentiment) // add the sentiment in the thank you text
        }
    },

    error: function(e){
		// if an error occurs
        alert("An error occured");

    }
});
Putting this all together, we get this:
$('#feedback-form').on('submit', function(e) {
    e.preventDefault();

    var fd = new FormData();

    var name = $('#name').val();
    var email = $('#email').val();
    var feedback = $('#feedback').val();

    let action_url = $(this).attr('action');

    fd.append('name', name);
    fd.append('email', email);
    fd.append('feedback', feedback);

    $('.loader').show();

    $.ajax({
        type: 'POST',
        url: action_url,
        data: fd,
        cache:false,
        contentType: false,
        processData: false,
        success: function (result) {
                $('.loader').hide();
            console.log(result);
            if(result.success) {
                $('#thankyoumessage').fadeIn();
                $('#feedback_sentiment').text(result.sentiment)
            }
        },

        error: function(e){

            alert("An error occured");

        }
    });
})
Now that our code is set, let's create the process.php that will handle our backend.
3. Create backend logic
In order to interact with both Tinq.ai's API and Airtable, we will create a PHP file named process.php with two functions.
Before creating any function, let's autoload our packages:
<?php
require "./vendor/autoload.php";

use Tinq\TinqClient;
use GuzzleHttp\Client;
?>
The first function that we will create will be the one that will submit our feedback data to Airtable.
function submitToAirtable($data) {

    $client = new Client();

    $airtableUrl = '<airtable-table-url>';
    $airtableAPIKey = '<airtable-api-key>';

    $name = $data['name'];
    $email = $data['email'];
    $feedback = $data['feedback'];
    $sentiment = $data['sentiment'];

    $request = new \GuzzleHttp\Psr7\Request(
        "POST",
        $airtableUrl,
        [
            "Authorization" => "Bearer $airtableAPIKey",
            "Content-Type" => "application/json",
        ],
        "
            {
            \"fields\":
                {
                    \"name\":\"$name\",
                    \"email\":\"$email\",
                    \"feedback\":\"$feedback\",
                    \"sentiment\":\"$sentiment\"
                }
            }");

            $response = $client->send($request);
            return $response;
}
Then the function that will handle our feedback, i.e: perform the necessary analyses with the Tinq.ai API.
function handleFeedback($data = []) {

    $tinq = new TinqClient("<your-tinq-ai-api-key>");

	// get the sentiment text submitted by the user
    $feedback = $data['feedback'];

	// invoke Tinq.ai's sentiment analysis tool from the package
    $sentimentAnalysis = $tinq->sentiments($feedback);

    // get the main sentiment from user's feedback

    $mainSentiment = $sentimentAnalysis['sentiment'];

	// append the data array with the main sentiment
    $data['sentiment'] = $mainSentiment;

    // submit feedback to airtable

    submitToAirtable($data);

    // create a response array that will be used as our HTTP response

    $response = [
        'sentiment' => $mainSentiment,
        'success' => true
    ];

	// the HTTP response is a JSON object, therefore let's set Content-type as such
    header("Content-type: application/json; charset=utf-8");

    return json_encode($response);

}
Please read the comment in the code to know which part does what.
Finally, let's display the JSON object using print_r(handleFeedback($_POST));.
The final process.php should look like this:
<?php

require "./vendor/autoload.php";

use Tinq\TinqClient;
use GuzzleHttp\Client;

function handleFeedback($data = []) {

    $tinq = new TinqClient("<your-tinq-ai-api-key>");

	// get the sentiment text submitted by the user
    $feedback = $data['feedback'];

	// invoke Tinq.ai's sentiment analysis tool from the package
    $sentimentAnalysis = $tinq->sentiments($feedback);

    // get the main sentiment from user's feedback

    $mainSentiment = $sentimentAnalysis['sentiment'];

	// append the data array with the main sentiment
    $data['sentiment'] = $mainSentiment;

    // submit feedback to airtable

    submitToAirtable($data);

    // create a response array that will be used as our HTTP response

    $response = [
        'sentiment' => $mainSentiment,
        'success' => true
    ];

	// the HTTP response is a JSON object, therefore let's set Content-type as such
    header("Content-type: application/json; charset=utf-8");

    return json_encode($response);

}

function submitToAirtable($data) {

    $client = new Client();

    $airtableUrl = '<airtable-table-url>';
    $airtableAPIKey = '<airtable-api-key>';

    $name = $data['name'];
    $email = $data['email'];
    $feedback = $data['feedback'];
    $sentiment = $data['sentiment'];

    $request = new \GuzzleHttp\Psr7\Request(
        "POST",
        $airtableUrl,
        [
            "Authorization" => "Bearer $airtableAPIKey",
            "Content-Type" => "application/json",
        ],
        "
            {
            \"fields\":
                {
                    \"name\":\"$name\",
                    \"email\":\"$email\",
                    \"feedback\":\"$feedback\",
                    \"sentiment\":\"$sentiment\"
                }
            }");

            $response = $client->send($request);
            return $response;
}

    print_r(handleFeedback($_POST));
?>
Final result:
Thanks for sticking to the end 😊
Feel free to follow Tinq on Socials:
Twitter: @tinq_ai | Instagram: @tinq.ai | Facebook: Tinq AI.


